Table of Contents
Introduction
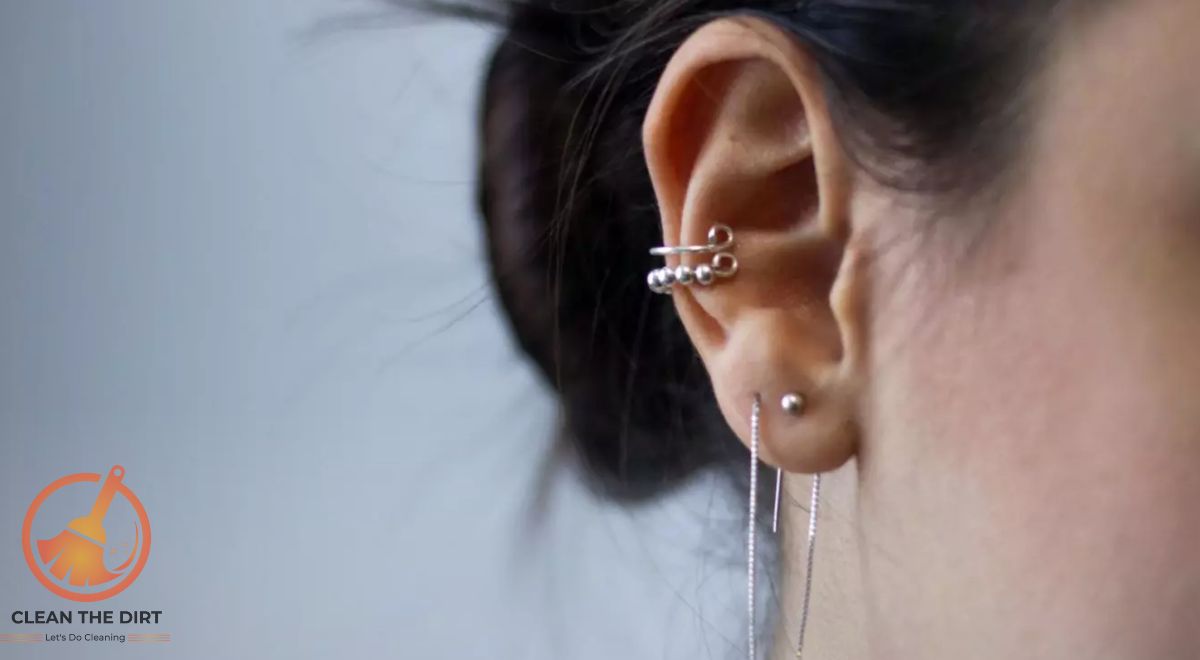
Getting a new ear piercing is exciting, but taking proper care of it is essential to ensure it heals correctly and stays infection-free. One of the most effective and simple methods for maintaining your new piercing is using a salt water solution. In this article, we’ll guide you on how to clean ear piercing with salt water, a tried-and-true method recommended by both professionals and enthusiasts alike.
Cleaning your ear piercing with salt water is not only easy but also a natural way to keep your piercing clean. It helps to remove any debris, reduces the risk of infection, and promotes faster healing. Whether you’re new to piercings or looking for the best aftercare routine, understanding how to clean ear piercing with salt water can make a significant difference in your healing process.
In the following sections, we’ll break down the steps and provide you with all the information you need to keep your piercing in top condition. From preparing the salt water solution to the actual cleaning process, we’ve got you covered. So, let’s dive into the details of how to clean ear piercing with salt water and ensure your piercing stays healthy and beautiful.
Why Use Salt Water for Cleaning Ear Piercings?
When it comes to aftercare for your new ear piercing, choosing the right cleaning method is crucial. One of the best and most recommended methods is using a saltwater solution. But why exactly should you use salt water for cleaning ear piercings? Let’s explore the benefits and reasons behind this effective technique.
1. Natural and Gentle Cleaning
First and foremost, using salt water is a natural and gentle way to clean your piercing. Unlike some commercial cleaners that contain harsh chemicals, a saltwater solution mimics the body’s own fluids, making it less irritating to the sensitive skin around your new piercing. This is why knowing how to clean ear piercing with salt water is so beneficial. It’s simple, effective, and kind to your skin.
2. Keeps Piercings Clean and Infection-Free
Salt water helps to keep the piercing site clean by flushing out any bacteria, dead cells, and debris that can accumulate and potentially cause infections. By regularly cleaning your ear piercing with salt water, you’re providing an optimal environment for healing. It’s a tried-and-true method that many piercers and healthcare professionals recommend because it works.
3. Natural Antiseptic Properties
Additionally, salt water has natural antiseptic properties. This means it can help prevent infections and reduce inflammation around the piercing. For those wondering how to clean ear piercing with salt water, it’s important to note that this method not only cleans but also soothes the area, promoting faster and more comfortable healing.
4. Affordable and Accessible
Another advantage of using a saltwater solution is its affordability and accessibility. You don’t need to spend a lot of money on specialized products. A simple mixture of non-iodized sea salt and warm water is all you need. Knowing how to clean ear piercing with salt water using ingredients you likely already have at home makes this method both convenient and cost-effective.
In summary, understanding how to clean ear piercing with salt water is essential for anyone looking to take proper care of their new piercing. It’s a natural, effective, and affordable way to ensure your piercing heals well and stays free from infections.
For those interested in maintaining overall hygiene beyond just ear piercings, we offer a range of helpful articles. If you’re curious about how to clean belly button piercings or want tips on how to clean earring holes, our detailed guides provide step-by-step instructions to ensure proper care.
In the next sections, we’ll walk you through the exact steps to create your saltwater solution and how to use it to clean your piercing properly.
Materials Needed
Before you start the cleaning process, it’s important to gather all the necessary materials. Having everything ready will make the process smooth and ensure you follow the proper steps on how to clean ear piercing with salt water. Now take a look at the following materials which will be required for this task.
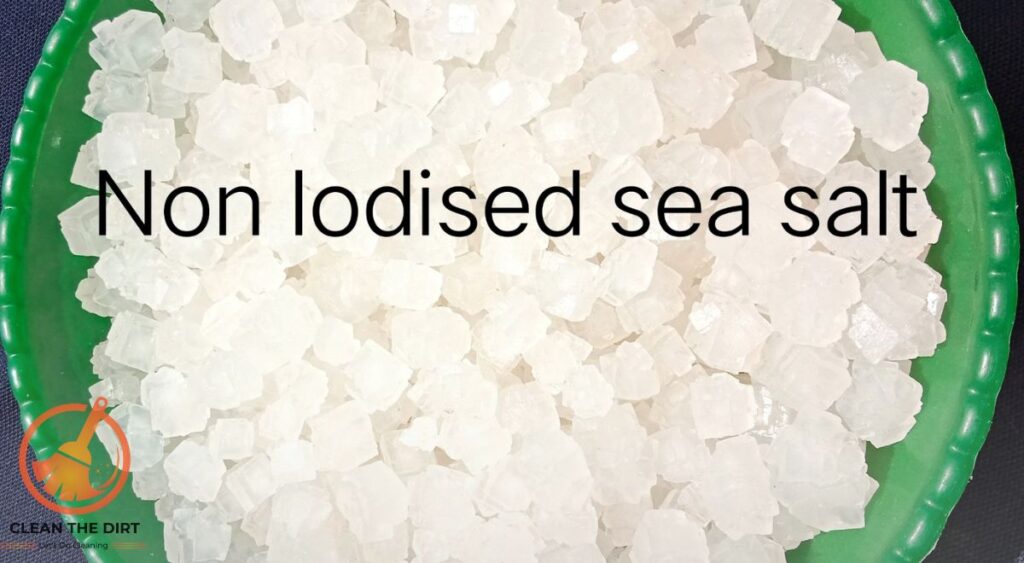
1. Non-Iodized Sea Salt
The key ingredient for your cleaning solution is non-iodized sea salt. This type of salt is preferred because it doesn’t contain additives that could irritate your piercing. Avoid table salt or iodized salt, as they can cause discomfort and prolong the healing process.
2. Warm Water
You’ll need warm water to dissolve the sea salt and create the cleaning solution. Warm water helps to dissolve the salt thoroughly and feels soothing on your skin. Make sure the water is not too hot, as it could burn the delicate area around your piercing.
3. A Clean Container or Cup
Choose a clean container or cup to mix your saltwater solution. Ensure it’s thoroughly washed and free from any contaminants. This step is crucial for maintaining the sterility of the solution and preventing any potential infections.
4. Cotton Balls or Swabs
Cotton balls or swabs are ideal for applying the salt water solution to your piercing. They are gentle on the skin and help to precisely clean the area around the piercing. Make sure to use fresh cotton balls or swabs each time to avoid reintroducing bacteria to the piercing site.
5. A Towel
A clean towel is useful for drying the area around your piercing after cleaning. Pat the area gently to avoid irritating the piercing. It’s best to use a separate towel specifically for this purpose to maintain hygiene.
By having all these materials ready, you’ll be well-prepared to follow the steps on how to clean ear piercing with salt water effectively. In the next section, we’ll guide you through the process of preparing the salt water solution and cleaning your piercing.
How to Clean Ear Piercing With Salt Water? A Step-by-Step Guide
Cleaning your ear piercing with salt water is a straightforward process that ensures your piercing heals properly and stays infection-free. Here’s a detailed step-by-step guide on how to clean ear piercing with salt water.
1. Preparing the Salt Water Solution
Gather Your Materials
Make sure you have non-iodized sea salt, warm water, a clean container, and cotton balls or swabs.
Measure the Ingredients
Measure 1/4 teaspoon of non-iodized sea salt and add it to 1 cup (8 ounces) of warm water. This ratio creates an effective cleaning solution without being too harsh on your skin.
Mix the Solution
Mix the salt with the water until the salt dissolves completely. Ensure there are no undissolved salt crystals, as they can irritate your piercing.
2. Cleaning the Piercing
Wash Your Hands
To avoid bringing bacteria to the site, wash your hands completely with soap and water before touching your piercing.
Soak a Cotton Ball or Swab
Dip a cotton ball or swab into the saltwater solution. Make sure it’s completely wet but not leaking.
Clean the Piercing
Gently apply the salt water solution to the piercing site. Ensure that the piercing is clean on both the front and rear. Hold the soaked cotton ball or swab against the piercing for a few minutes to allow the solution to soak in.
Remove Any Debris
Carefully remove any crust or debris around the piercing with the soaked cotton ball or swab. Be gentle to avoid irritating the area.
Rinse with Clean Water
After cleaning with the salt water solution, rinse the piercing with clean, warm water to remove any salt residue. This step helps to prevent the area from drying out.
Dry the Piercing
Pat the area dry with a clean towel. Avoid using a towel that might harbor bacteria or irritate the skin. Be gentle and ensure the area is thoroughly dry.
3. Establishing a Cleaning Routine
Frequency of Cleaning
For optimal healing, clean your ear piercing with salt water twice daily, once in the morning and once before bed.
Monitor Your Piercing
Watch for indications of inflammation or infection on your piercing. If you notice any unusual swelling, redness, or discharge, consult a professional piercer or healthcare provider.
Continue the Routine
Maintain this cleaning routine for at least the first few weeks or until your piercing is fully healed. Consistency is key to preventing infections and promoting proper healing.
By following this step-by-step guide on how to clean ear piercing with salt water, you can ensure your piercing heals smoothly and stays healthy. Remember, patience and proper care are essential for a successful piercing experience.
Additionally, we cover topics such as how to clean pores on the nose and how to clean your teeth with baking soda, offering practical advice for a variety of personal hygiene needs.
Aftercare Tips
Proper aftercare is crucial for ensuring that your ear piercing heals well and remains free from infections. In addition to following the steps on how to clean ear piercing with salt water, here are some essential aftercare tips to keep your piercing in top condition.
1. Avoid Touching the Piercing
Try to avoid touching your ear piercing with unwashed hands. Touching can raise the chance of infection by introducing bacteria. If you need to touch or adjust your piercing, always wash your hands thoroughly beforehand.
2. Use Clean Materials
Always use clean materials, such as cotton balls or swabs, when cleaning your piercing. Reusing or using dirty items can introduce bacteria to the piercing site. Ensure everything you use is fresh and clean each time you follow the routine on how to clean ear piercing with salt water.
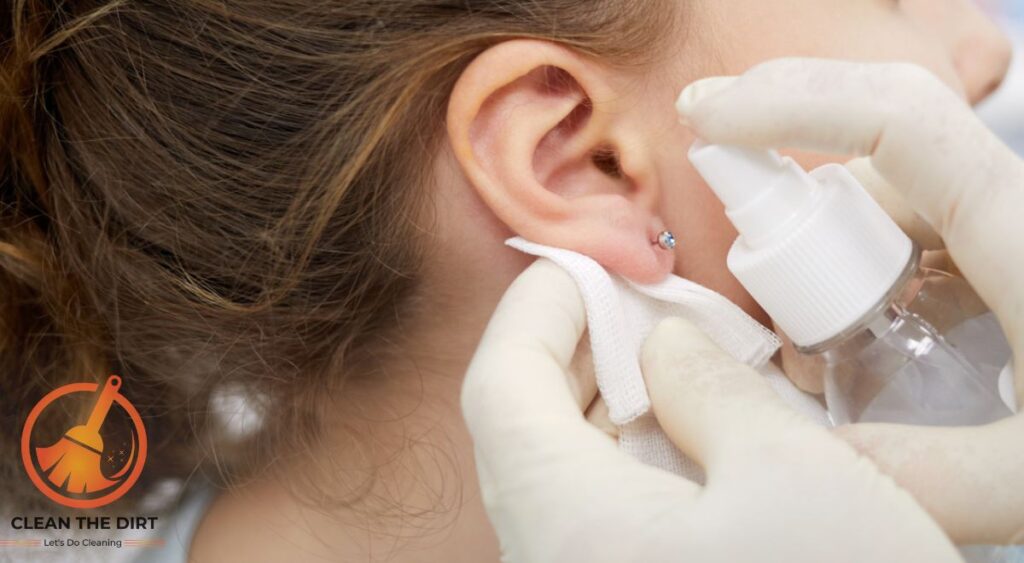
3. Be Gentle
When cleaning or handling your piercing, be gentle. Rough movements can irritate the piercing and prolong the healing process. Carefully and softly apply the salt water solution and remove any debris without excessive force.
4. Avoid Harsh Chemicals
Steer clear of using alcohol, hydrogen peroxide, or other harsh chemicals on your piercing. These substances can dry out and irritate the skin, hindering the healing process. Stick to the recommended salt water solution when following this guide on how to clean ear piercing with salt water.
5. Keep the Piercing Dry
After cleaning your piercing, make sure to dry it thoroughly with a clean towel. Leaving the area moist can create a breeding ground for bacteria. Pat the area gently to ensure it’s completely dry.
6. Stay Away from Irritants
Avoid exposing your piercing to potential irritants such as hair products, lotions, and perfumes. These substances can irritate and delay healing. Be mindful of keeping these products away from your ear piercing.
7. Monitor for Signs of Infection
Keep a close watch on your piercing for any signs of infection, such as excessive redness, swelling, pain, or unusual discharge. If you notice any of these symptoms, consult a professional piercer or healthcare provider promptly.
8. Maintain a Healthy Lifestyle
A healthy lifestyle can promote faster healing. Eat a balanced diet, stay hydrated, and get enough rest to support your body’s natural healing processes. A strong immune system can help your piercing heal more efficiently.
9. Follow a Cleaning Schedule
When it comes to aftercare for piercings, consistency is essential. Stick to a regular cleaning schedule, ideally cleaning your piercing twice a day. This routine helps to prevent infections and ensures that your piercing heals properly.
By incorporating these aftercare tips into your routine and following the steps on how to clean ear piercing with salt water, you can ensure your piercing heals smoothly and remains healthy. Taking good care of your piercing from the start sets the foundation for a trouble-free healing process.
Common Mistakes to Avoid
Proper care of your ear piercing is essential for a smooth healing process. While this method about how to clean ear piercing with salt water is straightforward, there are common mistakes that people make that can hinder healing or even lead to infections. Let’s take a look at these mistakes.
1. Using the Wrong Type of Salt
One of the most common mistakes is using iodized salt instead of non-iodized sea salt. Iodized salt contains additives that can irritate your piercing. When learning how to clean ear piercing with salt water, make sure you use non-iodized sea salt to create a gentle and effective solution.
2. Not Dissolving the Salt Completely
Another error is not dissolving the salt completely in the water. Undissolved salt crystals can cause irritation and discomfort. Ensure that the salt is fully dissolved before using the solution on your piercing. This is a crucial step in learning how to clean ear piercing with salt water effectively.
3. Using Harsh Cleaning Products
Avoid using alcohol, hydrogen peroxide, or other harsh chemicals on your piercing. These products can dry out and irritate the skin, potentially leading to complications. Stick to the recommended salt water solution when practicing how to clean ear piercing with salt water for the best results.
4. Over-Cleaning the Piercing
Over-cleaning is another common mistake. While it’s important to keep your piercing clean, excessive cleaning can disrupt the healing process and irritate it. Follow a consistent routine, such as cleaning twice a day, but avoid overdoing it.
5. Touching the Piercing with Dirty Hands
Touching your piercing with unwashed hands can introduce bacteria and increase the risk of infection. Always wash your hands thoroughly before touching or cleaning your piercing. This is a key aspect of this guide on how to clean ear piercing with salt water safely.
6. Using Dirty or Old Materials
Reusing old or dirty cotton balls, swabs, or towels can transfer bacteria to your piercing. Always use fresh, clean materials each time you clean your piercing to avoid introducing contaminants. This practice is vital when following how to clean ear piercing with salt water.
7. Not Drying the Piercing Properly
Failing to dry your piercing thoroughly after cleaning can leave the area moist, creating an environment where bacteria can thrive. After using the salt water solution, make sure to pat the area dry with a clean towel. Proper drying is essential in following this guide on how to clean ear piercing with salt water.
8. Ignoring Signs of Infection
Finally, ignoring symptoms of infection can lead to more serious issues. If you notice excessive redness, swelling, pain, or unusual discharge, don’t wait to seek professional advice. Early intervention is crucial for maintaining the health of your piercing.
By avoiding these common mistakes and following the proper steps on how to clean ear piercing with salt water, you can ensure that your piercing heals smoothly and stays healthy. Proper care and attention to detail will help you enjoy your new piercing without complications.
In addition to piercing care, we also provide information on how to clean your eyes naturally and how to clean under nails, helping you keep every aspect of your health in check.
When to Seek Professional Help
While how to clean ear piercing with salt water is an effective method for maintaining your piercing, there are situations where professional help is necessary. Knowing when to seek advice from a professional can prevent minor issues from becoming major problems. The following is the time to think about getting professional help.
1. Persistent or Severe Pain
If you experience persistent or severe pain around your piercing that doesn’t improve with proper care, it’s time to seek professional help. Mild discomfort is normal during the healing process, but intense or ongoing pain could indicate an infection or other complication. Even if you’re following how to clean ear piercing with salt water as recommended, persistent pain requires professional evaluation.
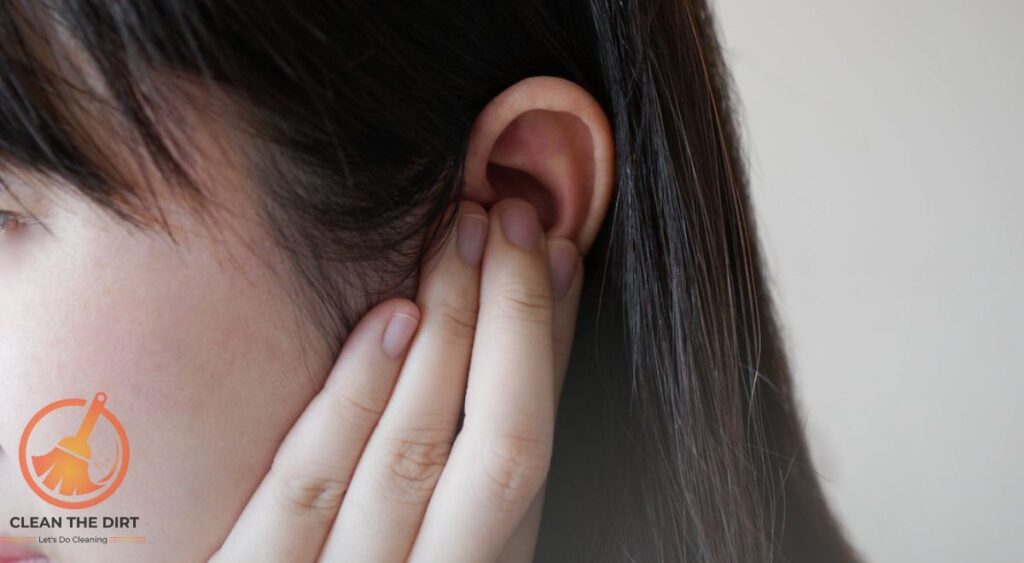
2. Excessive Redness and Swelling
Some redness and swelling are typical when you first get a piercing. However, if the redness and swelling are excessive or worsening despite your efforts, it could be a sign of an infection or an allergic reaction. Consulting a professional can help address these symptoms and ensure proper treatment.
3. Unusual Discharge or Odor
A small amount of clear or slightly yellow discharge is normal during the healing process. However, if you notice green or yellow pus, or if your piercing emits a strong, unpleasant odor, this may indicate an infection. Even with regular cleaning using this guide on how to clean ear piercing with salt water, unusual discharge or odor warrants professional advice.
4. Fever or Systemic Symptoms
If you develop a fever or experience systemic symptoms like chills, nausea, or fatigue along with your piercing issues, it’s crucial to seek medical attention immediately. These symptoms could indicate a serious infection that requires prompt treatment beyond what can be addressed.
5. Piercing Migration or Rejection
In rare cases, piercings can migrate or be rejected by the body, causing the jewelry to move or the piercing to close up. If you notice that your piercing seems to be moving or the skin is thinning around it, consult a professional. They can assess the situation and guide how to address these issues.
6. Allergic Reactions
If you suspect that you might be having an allergic reaction to the metal in your jewelry, or if you notice an allergic reaction despite using this guide, seek advice from a professional. They can help determine if you need to switch to hypoallergenic jewelry or take other steps to alleviate the reaction.
7. Failure to Heal
If your piercing isn’t healing as expected despite consistent cleaning with this guide, or if it seems to be getting worse, consult a professional. Sometimes, complications arise that require specialized treatment to resolve.
By knowing when to seek professional help, you can address potential issues early and ensure that your piercing heals correctly. Even with the best practices in how to clean ear piercing with salt water, it’s important to remain vigilant and seek expert advice if you encounter any problems.
Conclusion
Taking proper care of your new ear piercing is essential for a smooth and healthy healing process. One of the most effective and gentle methods for maintaining your piercing is learning how to clean ear piercing with salt water. This time-tested technique helps to keep your piercing clean, reduces the risk of infection, and promotes faster healing.
By following the steps on how to clean ear piercing with salt water, you ensure that your piercing receives the right care it needs. From preparing the salt water solution to applying it with clean materials and monitoring your piercing for any signs of trouble, each step plays a crucial role in your piercing’s overall health.
Remember, while this method on how to clean ear piercing with salt water is reliable, it’s important to avoid common mistakes and adhere to proper aftercare practices. Avoiding irritants, using clean materials, and staying consistent with your cleaning routine is key to achieving the best results.
If you encounter any issues or unusual symptoms, don’t hesitate to seek professional help. Recognizing when to consult a piercer or healthcare provider ensures that any potential problems are addressed promptly and effectively.
For those wondering about other cleaning methods, including how to clean your ears with hydrogen peroxide or how to clean your ears in the shower, our articles offer comprehensive guidance to support your daily routines and maintain your well-being.
When cleaning your ear piercing, various methods have different benefits and drawbacks. The table below compares these methods, showing why learning how to clean ear piercing with salt water is often the best choice for gentle and effective aftercare.
| Cleaning Method | Benefits | Drawbacks |
|---|---|---|
| Salt Water Solution | – Natural and gentle on the skin<br>- Effective at reducing bacteria and preventing infections<br>- Affordable and easy to prepare at home<br>- Promotes faster healing | – Requires daily preparation<br>- Needs consistent application<br>- Might not be sufficient for severe infections |
| Commercial Piercing Cleaners | – Convenient and ready-to-use<br>- Often contain antiseptic properties | – Can contain harsh chemicals that may irritate the skin<br>- More expensive than salt water solution |
| Hydrogen Peroxide | – Strong antiseptic properties<br>- Easily accessible | – Can dry out and irritate the skin<br>- May slow down the healing process |
| Alcohol | – Effective at killing bacteria<br>- Commonly found in households | – Extremely drying and irritating to the skin<br>- Not recommended for regular use on piercings |
| Antibacterial Soaps | – Helps to reduce bacteria<br>- Easy to use | – May contain fragrances and additives that can irritate the piercing<br>- Can be too harsh if not diluted properly |
In summary, mastering how to clean ear piercing with salt water is a valuable skill for anyone with a new piercing. With the right knowledge and careful attention to aftercare, you can enjoy your piercing while ensuring it heals beautifully and healthily.
Why is salt water recommended for cleaning ear piercings?
Salt water is recommended because it is a natural, gentle, and effective way to clean piercings. It helps to flush out bacteria, reduce inflammation, and promote healing without the harsh chemicals found in many commercial cleaners.
How often should I clean my ear piercing with salt water?
You should clean your ear piercing with salt water twice a day – once in the morning and once before bed. Consistent cleaning helps to prevent infections and ensure proper healing.
Can I use table salt instead of sea salt for cleaning my piercing?
No, it’s best to use non-iodized sea salt. Table salt often contains additives that can irritate your piercing and slow down the healing process.
What should I do if my piercing gets infected despite cleaning it with salt water?
If you notice signs of infection, such as excessive redness, swelling, pain, or unusual discharge, it’s important to seek professional help. Continue cleaning with salt water, but also consult a piercer or healthcare provider for further advice and treatment.
How do I know if my ear piercing is healing properly?
A properly healing piercing will show gradual improvement with less redness, swelling, and discomfort over time. There should be no significant pain, and any discharge should be minimal and clear or slightly yellow. Regular cleaning with salt water will aid this process.
Can I swim in a pool or the ocean with a new ear piercing?
It’s advisable to avoid swimming in pools, hot tubs, or the ocean until your piercing is fully healed. These environments can introduce bacteria and chemicals that may cause infections or irritate your piercing.
Is it normal for my piercing to itch while it heals?
Some itching is normal as your piercing heals. It indicates that your body is responding to the piercing and beginning the healing process. However, excessive itching along with other symptoms like redness and swelling might indicate irritation or infection.
What should I avoid doing with my new ear piercing?
Avoid touching your piercing with dirty hands, using harsh chemicals, sleeping on the piercing, and exposing it to irritants like hair products or perfumes. Also, avoid changing the jewelry too soon; wait until it’s fully healed.
How long does it take for an ear piercing to heal completely?
Healing times can vary, but earlobe piercings typically take 6-8 weeks to heal, while cartilage piercings can take several months to a year. Proper aftercare, including cleaning with salt water, can help ensure a smooth healing process.
Can I make a larger batch of salt water solution and store it for future use?
While it’s best to prepare fresh salt water solution each time you clean your piercing, you can store a batch in a clean, sealed container for up to 24 hours. Ensure it’s covered to prevent contamination.
You May Also Like: How to Clean Cuticles? Safe and Effective Tips

